
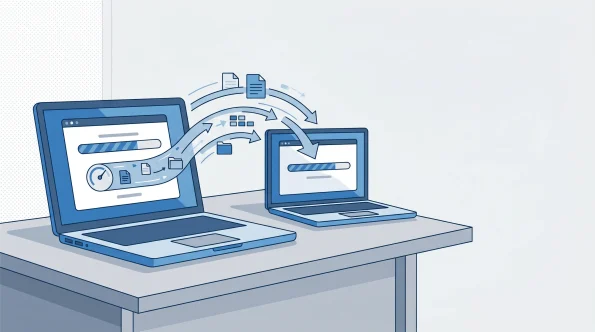
Upgrading your office computers is an exciting way to get more done, but it can be scary to think about moving years’ worth of important files. Data migration is the most important step when moving from your old system to your new one, whether you are replacing a single old desktop or giving the whole department new hardware. If executed correctly, transferring data without loss allows your team to continue their work seamlessly. But a poorly planned transfer can cause documents to disappear, files to become corrupt, and expensive downtime.
This guide will show you how to move your data safely, what you should check before you begin, and why new technologies like a Mini PC for the office are making it easier than ever to move data between business PCs.
Choosing the Right Data Migration Strategy for Your Business
Not all businesses require the same approach. A sole trader moving files to a new laptop has different needs compared to a London-based SME upgrading fifty workstations. Selecting the correct data migration path is your first step toward minimising operational disruption.
Data Migration Methods Comparison
| Data Migration Method | Transfer Speed | Complexity | Best For | Application Transfer? |
|---|---|---|---|---|
| Professional Software | Fast | Low | Non-technical staff | Yes |
| Cloud (OneDrive/M365) | Variable | Low | Hybrid/Remote teams | No |
| External SSD (USB4) | Ultra-Fast | Moderate | Large local databases | No |
| Network Imaging | Fast | High | Bulk office deployments | Yes (Full OS) |
For most businesses, a hybrid migration—using cloud services for documents and professional software for applications—offers the best balance of speed and reliability.
Top-Rated Data Migration Tools for Windows 11 Business PCs
Choosing the right data migration tool can save time and reduce risk. The best option depends on how much data you have, how fast you need to move it, and how critical your systems are.
Software-based migration tools
Software tools are the most common choice for business PCs. They are easy to deploy and work well for both small and large migrations.
- Acronis Cyber Protect / True Image
Good for full system cloning and backups. It is reliable and simple to use. - EaseUS Todo PCTrans
Designed for moving files, apps, and settings between PCs. Ideal for office upgrades. - Macrium Reflect
Known for disk imaging and fast recovery. Often used in IT environments. - Laplink PCmover
Focuses on user-friendly transfers, especially during device replacement.
These tools work best when: You need a structured migration, data integrity is critical, and downtime must be controlled
Cloud-based migration solutions
Cloud tools are useful when moving data across locations or systems.
- AWS Data Migration Service
- Azure Data Factory
- Google Cloud Dataflow
They support large datasets and automation. However, they depend on network speed and may increase costs over time. Best for: Distributed teams, long-term data pipelines and scalable environments
Hardware-assisted migration (faster approach)
For businesses that need speed, hardware makes a big difference.
Modern interfaces like USB4 and Thunderbolt 4 allow extremely fast transfers:
- Up to 40 Gbps bandwidth
- Much faster than older USB standards
- Supports data, power, and video through one cable
In practice:
- External SSD + Thunderbolt = near internal drive speed
- Ideal for large file transfers (e.g. databases, media files)
Compared to older USB:
- USB 3.2 ≈ much slower
- Thunderbolt / USB4 = up to 4× faster performance
When to use hardware vs software
- Use software tools when:
- You need automation and control
- Migrating systems, not just files
- Use hardware-assisted methods when:
- Speed is the top priority
- Moving large volumes of data locally
In short,
- Small office → simple transfer software
- Growing business → hybrid approach
- Enterprise → cloud + hardware acceleration
Pre-Migration Checklist Before Transferring Business Data
Please ensure these important steps are completed before moving any files.
1. Back Up Important Files
Never migrate without a backup plan. Put a full copy of all your important files on an external hard drive or a safe cloud server. This backup makes sure that you will not lose your important data if something goes wrong during the transfer.
2. Remove Unnecessary Files
A migration is a great time to clean up your digital life. Take a look at your old computer and get rid of any temporary files, old software, and extra downloads. Less data transfer will speed up the move and clear out your new PC so it is ready to go.
3. Check Software Compatibility
Make sure that your apps will work with your new operating system before you move them. You should check with the companies that make your important business programs to make sure they will work well on Windows 11 Pro.
Related Article: Windows 11 Home vs Pro: Which Is Better?
4. Verify Storage Capacity
Check to see how much space your new PC has for storage. Make sure that the new hard drive or SSD has a lot of space for all the files you want to move, plus extra space for future files and system updates.
5. Prepare User Access and Permissions
You should have the employee’s login information, software license keys, and permissions to access the network ready before setting up a PC for them. Of course, this makes sure that they can log in and get to work as soon as the migration is done.
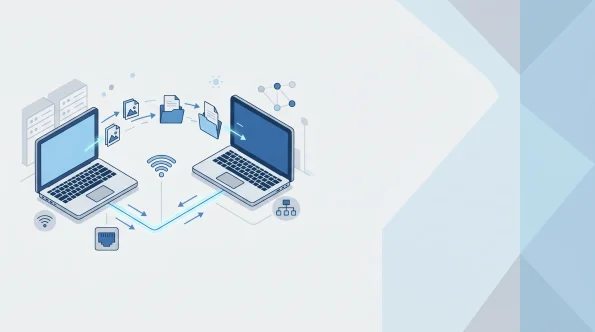
Step-by-Step Guide to Transfer Data Between Business PCs
It is time to do the transfer once you are ready and your new hardware is ready. These ways of moving your data are the most reliable.
Step 1: Using an External SSD or USB Drive
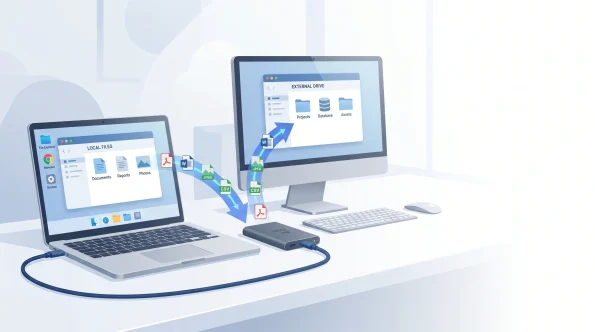
This is often the easiest and safest way to do it. Put your important files and folders on an external SSD with a lot of space by connecting it to your old PC. Then, plug the drive into your new PC to move the files over. It is fast and does not depend on a network connection because it does not need one.
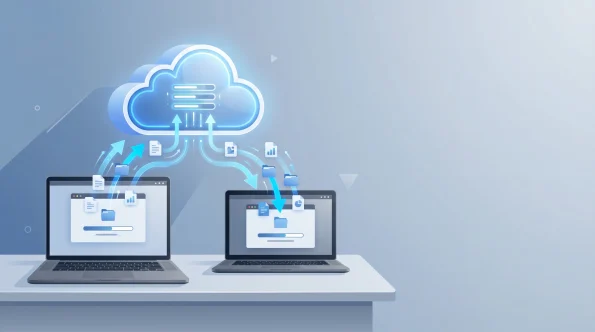
Step 2: Using Cloud Storage
You can use Microsoft OneDrive, Google Drive, or Dropbox, if your business already uses them, to move. Get your old PC to sync all of its files with the cloud. When you connect your new PC to your cloud account, your files will either download automatically or become available whenever you want.
Step 3: Using Migration Software
Dedicated migration software is highly recommended for a full transfer that includes settings and applications. TechRadar’s review of migration tools says that programs like Laplink PCmover and EaseUS Todo PCTrans can move your files, user profiles, and even installed programs from one PC to another over your local network. This can save you hours of setup time.
Step 4: Network Transfer Between Devices
If your old and new computers are both connected to the same secure office network, you can share folders on the older computer and copy files directly from the new computer to the shared folders. You do not need any extra hardware for this method to work well for sending large amounts of data.
Ensuring GDPR Compliance During Data Migration (UK Focus)
For UK-based organisations, data migration is a high-risk period for data protection. Under UK GDPR, you are responsible for the security of personal data throughout the transfer process.
1. Encryption in Transit: Ensure that any data moved over networks or stored on external drives is encrypted (BitLocker is a built-in tool that simplifies this).
2. Secure Disposal: Once the data migration is successful, the old hardware must be “sanitised”. Simply deleting files is not enough; use a certified data-wiping tool to ensure no client information remains on the old drives before they are recycled or resold.
How to Bulk Data Migration
Bulk data migration is needed when upgrading many business PCs at once. The goal is simple: move large volumes of data quickly, with minimal disruption.
For bulk migration, standardisation is key.
- Use a centralised plan
Define what data to move and apply the same process across all devices. - Automate where possible
Migration tools can handle multiple systems at once, saving time and effort. - Migrate in batches
Upgrade teams or departments step by step to reduce risk. - Test before full rollout
Run a pilot on a small group to catch issues early.
Speeding up large transfers
Hardware plays a major role in bulk migration speed.
- Use high-speed connections like USB4 or Thunderbolt
- Transfer data with external SSDs for faster performance
- Avoid slow networks when moving large files locally
4 Common Data Migration Problems and Methods
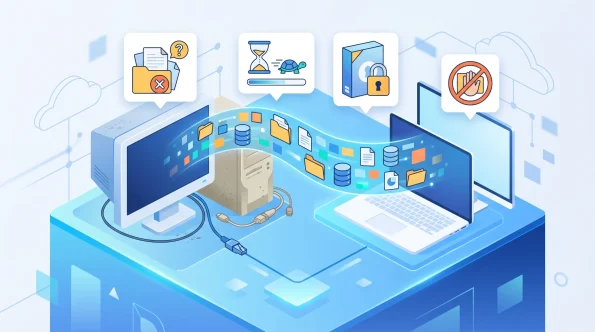
Things can go wrong even if you plan well. Here’s how to get past the most common move problems.
Missing Files
If you saved files somewhere other than the usual “Documents” or “Desktop” folders, you might lose them. To avoid this, check your C: drive carefully by hand before moving, or use dependable migration software that checks the whole drive for user data.
Slow Transfer Speed
Most of the time, an old USB 2.0 port, an old mechanical hard drive, or a busy Wi-Fi network is to blame for a slow transfer. Always use the fastest ports you can find, like USB 3.2 or USB-C, and for network transfers, choose wired Ethernet connections over Wi-Fi.
Software Licensing Issues
A lot of business programs link their license keys to the hardware on your old PC. Turn off the software licenses on your old computer before you move. This way, you can successfully turn them back on on your new computer without setting off anti-piracy blocks.
Access Permission Errors
If the new user profile does not own the files, you might get “Access Denied” errors when moving files between PCs. Make sure you are an Administrator on the new PC and are ready to manually take ownership of the moved folders if needed.
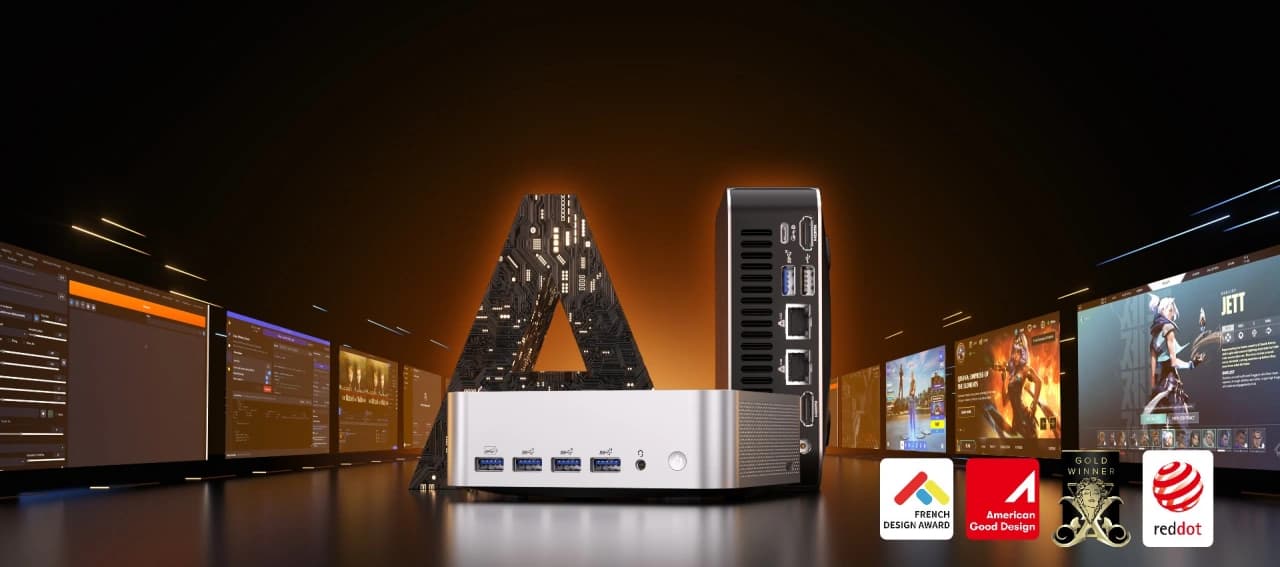
Hardware Acceleration: Why GEEKOM PCs Simplify Data Migration
The hardware you choose directly impacts the speed of your data migration. Traditional tower PCs often rely on older USB standards, leading to bottlenecks that can leave an IT team waiting overnight for a transfer to finish.
GEEKOM Mini PCs are engineered to remove these bottlenecks:
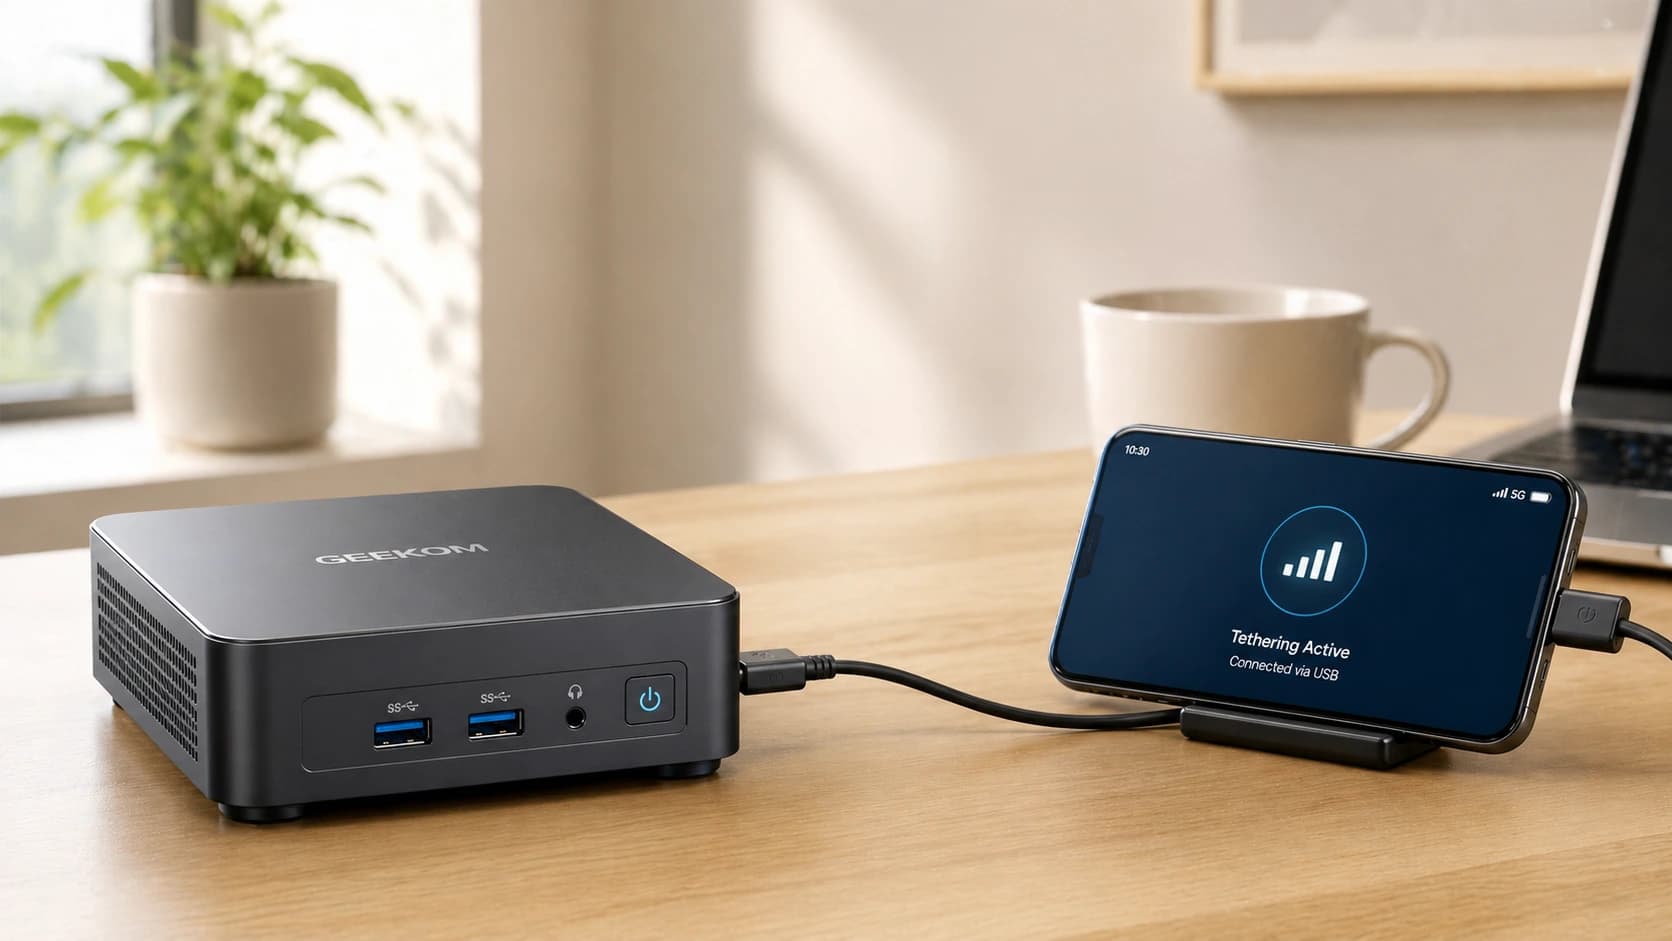
•Thunderbolt 4 & USB4 Integration: These ports support speeds up to 40Gbps. In a real-world data migration scenario, moving a 500GB project folder takes approximately 15 minutes on a GEEKOM GT13 Max, compared to nearly 4 hours on an older USB 3.0 system.
•Pre-installed Windows 11 Pro: By shipping with the Pro edition, GEEKOM ensures your new devices are ready for enterprise-grade security features and domain joining immediately after the data migration.
•Dual Storage Slots: Many GEEKOM models allow you to physically plug in an old M.2 SSD alongside the new one, making local data migration as simple as a “drag and drop” between drives.
FAQs About Data Migration
How long does data migration take?
It takes different amounts of time depending on how much data you are moving and how you do it. If you use a fast external SSD, moving 50GB of files might only take 10 minutes. But if you use a slow Wi-Fi network, it could take hours.
What is the safest transfer method?
The safest way to do it is over a secure, wired local network with an encrypted external SSD or dedicated, trusted migration software. Before you start any transfer, you should always make sure you have a full backup.
Can I transfer installed software?
Yes, but you can not just copy and paste the folders for the programs. To move the programs and the registry keys that go with them, you need to use PC migration software like Laplink PCmover or just reinstall the programs on the new PC.
Will I lose data during migration?
You will not lose data if you use a proper pre-migration checklist and make a safe backup first. You only lose data if the transfer is interrupted and there is no backup.
If I purchase a GEEKOM device, will I receive technical support for data migration?
Answer
Surely. Geekom offers comprehensive technical support to assist with data migration. Whether it involves hardware configuration, operating system installation, or data backup and recovery, our support team is available to guide you through the entire process.